High Quality & Great Pricing l # Plates from $29 l Dirt Bike Kits $175 l Stickers 12 @ $9
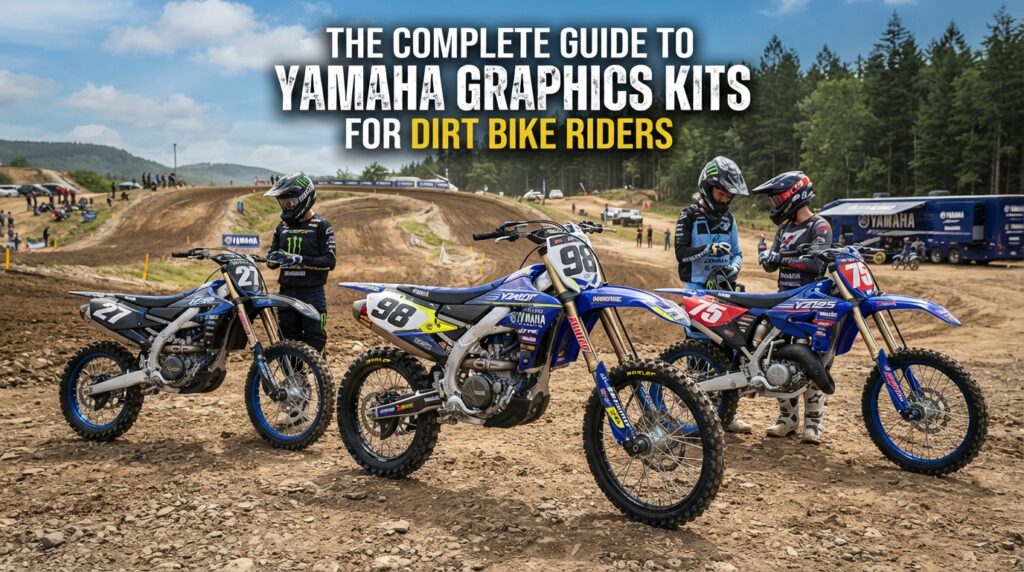
A Yamaha dirt bike is built to perform, but its appearance can be just as personal as the way you ride it. Whether you’re refreshing an older motorcycle, preparing for motocross racing, or creating a custom race-bike identity, the right graphics can completely change how your Yamaha looks on the track or trail.
For riders considering an upgrade, The Complete Guide to Yamaha Graphics Kits explains the key factors behind choosing graphics that combine style, fitment, personalization, and durability. If you’re ready to develop a custom design, explore The Complete Guide to Yamaha Graphics Kits and start planning a look built around your motorcycle.
Yamaha graphics kits are collections of decals designed to fit specific areas of Yamaha dirt bike plastics. Depending on the motorcycle and kit, graphics can cover radiator shrouds, number plates, fenders, fork guards, swingarms, airbox panels, and other bodywork.
Unlike generic stickers, quality dirt bike graphics are created around the dimensions and contours of a particular motorcycle.
That’s one of the most important principles in The Complete Guide to Yamaha Graphics Kits. A well-designed kit should look integrated with the motorcycle rather than like separate stickers added afterward.
Graphics are one of the easiest ways to dramatically change a dirt bike’s visual identity.
Regular off-road riding exposes plastics and graphics to dirt, mud, boots, washing, transportation, and general wear.
If your original decals have become faded or damaged, installing a new graphics package can give the motorcycle a noticeably fresher appearance.
The Complete Guide to Yamaha Graphics Kits is therefore useful for riders who are happy with their current motorcycle but want to modernize its look.
Custom graphics allow riders to incorporate personal elements such as:
Instead of riding a Yamaha that looks identical to another bike of the same model, you can create a design that reflects your own style.
Correct fitment should always come before appearance.
Yamaha has produced numerous dirt bike models and generations, and their plastics can differ significantly.
Before ordering vinyl decal kits, confirm your motorcycle’s exact model, model year, engine size, and plastic configuration.
The Complete Guide to Yamaha Graphics Kits emphasizes these details because a graphics kit designed for one generation may not align correctly with another.
If your motorcycle has aftermarket plastics, mention that information when selecting or ordering graphics.
Riders generally have two main approaches: pre-designed graphics or custom graphics.
Pre-designed kits are useful when you already like an existing visual concept. Depending on the available options, you may still be able to personalize elements such as your name or race number.
Custom dirt bike graphics provide greater creative flexibility.
You can develop a design around your preferred colors, racing identity, numbers, logos, and other visual elements.
For riders wanting a more personalized result, The Complete Guide to Yamaha Graphics Kits offers a starting point for creating graphics around your specific motorcycle.
Motocross graphics need to balance creativity with readability.
A race bike may feature a rider number, name, team branding, and sponsor logos alongside decorative graphics.
Your number should remain one of the most recognizable elements on a motocross bike.
Avoid overly complex backgrounds that make important information difficult to distinguish.
Strong contrast between numbers and surrounding graphics can help maintain visual clarity.
This balance between style and function is an important part of The Complete Guide to Yamaha Graphics Kits for motocross racing.
Although the principles of graphics design apply across motocross motorcycles, the physical kits aren’t interchangeable.
KTM motorcycles use bodywork specific to their models and generations. A KTM graphics kit should therefore be designed around KTM plastics rather than adapted from a Yamaha kit.
Honda CRF motorcycles have their own panel shapes and dimensions. Graphics should match the exact CRF model and production year.
The same principle applies to Kawasaki KX and Suzuki RMZ motorcycles.
Each manufacturer uses different bodywork, meaning vinyl decal kits need model-specific templates.
The Complete Guide to Yamaha Graphics Kits makes this distinction important: choose graphics created specifically for your Yamaha rather than trying to make another manufacturer’s kit fit.
A visually impressive design is only one part of a good graphics package.
Motocross bikes operate in challenging environments. Graphics regularly encounter dirt, mud, water, riding boots, transportation, and repeated cleaning.
Quality vinyl intended for dirt bike applications is therefore an important consideration.
Clear printing helps colors, patterns, numbers, names, and logos maintain a polished appearance.
Graphics should follow the contours, openings, and edges of the intended plastics.
The Complete Guide to Yamaha Graphics Kits recommends considering material, printing, cutting, and fitment together rather than selecting a kit based solely on artwork.
A distinctive bike doesn’t necessarily need the most complicated design.
Start with a focused color palette. Choose a few complementary colors and decide which elements deserve the most attention.
Use contrast around race numbers and important logos.
Consider the motorcycle as a complete visual package, including its plastics, frame, seat cover, wheels, and riding gear.
The Complete Guide to Yamaha Graphics Kits encourages riders to create visual consistency instead of filling every available space with unrelated design elements.
Sometimes a cleaner design can make a stronger impression than an overcrowded one.
Proper preparation can significantly influence the final appearance.
Begin with thoroughly cleaned plastics. Remove dirt, grease, wax, old adhesive, and other residue that may interfere with application.
Before applying firm pressure, carefully position each graphics section and check its alignment.
Work gradually when installing larger pieces.
If your motorcycle plastics are heavily scratched, cracked, or damaged, consider addressing those issues before applying new graphics.
Following these installation basics can help The Complete Guide to Yamaha Graphics Kits translate into a cleaner real-world result.
Your graphics don’t exist separately from the rest of the motorcycle.
A seat cover, plastics, frame, wheels, and smaller accessories can all influence the overall design.
If your graphics are highly detailed, a simpler seat design may create balance. If your vinyl decal kits use a minimalist layout, stronger accent details elsewhere on the motorcycle may complement them.
This whole-bike approach is another important lesson from The Complete Guide to Yamaha Graphics Kits.
The goal should be a Yamaha that looks intentionally customized from every angle.
One common mistake is ordering graphics before confirming the exact motorcycle year and model.
Another is focusing entirely on color while overlooking readability, fitment, and overall balance.
Riders may also overcrowd their graphics with too many logos, fonts, or competing design elements.
Finally, don’t overlook surface preparation before installation.
The Complete Guide to Yamaha Graphics Kits works best as a complete process: verify compatibility, plan the design, choose appropriate materials, prepare the bike, and install each section carefully.
Graphics can transform a standard Yamaha dirt bike into a motorcycle that feels much more personal. Whether you’re refreshing an older bike, creating a race-ready identity, or simply changing the factory appearance, the right combination of design and fitment can make a significant visual difference.
By following The Complete Guide to Yamaha Graphics Kits, riders can make informed choices about compatibility, personalization, vinyl quality, design, installation, and overall styling.
While KTM, Honda CRF, Kawasaki KX, and Suzuki RMZ riders have their own model-specific options, Yamaha owners should always select dirt bike graphics and vinyl decal kits designed around their exact motorcycle.
For recreational riding or motocross racing, a thoughtfully designed graphics package can bring together your numbers, colors, branding, and personal style in one cohesive look.
Ready to create a new look for your Yamaha? Contact Boondocks Decals to discuss your ideas and start planning custom graphics designed around your dirt bike.
Confirm your Yamaha’s exact model, model year, engine size, and plastic configuration. If you use aftermarket plastics, provide those details as well.
Yes. Custom dirt bike graphics can typically be designed around personalized details such as rider names, numbers, colors, team branding, and logos, depending on the customization options available.
Yes. Graphics are commonly used for motocross racing to create a distinctive appearance and incorporate rider numbers, names, sponsors, and team branding. Riders should also follow applicable competition requirements.
Generally, no. Yamaha, KTM, Honda CRF, Kawasaki KX, and Suzuki RMZ motorcycles use different bodywork. Model-specific vinyl decal kits are needed for accurate fitment.
Clean the plastics thoroughly and remove dirt, grease, wax, adhesive residue, and other contaminants. Check each decal’s position before applying firm pressure and work gradually during installation.
Use a consistent color palette, keep numbers readable, avoid overcrowding the design, choose graphics made for your exact motorcycle, and coordinate the graphics with your plastics, seat, frame, and other visible components.
Get in touch today for fast support and professional motocross graphics assistance.