
High Quality & Great Pricing l # Plates from $29 l Dirt Bike Kits $175 l Stickers 12 @ $9
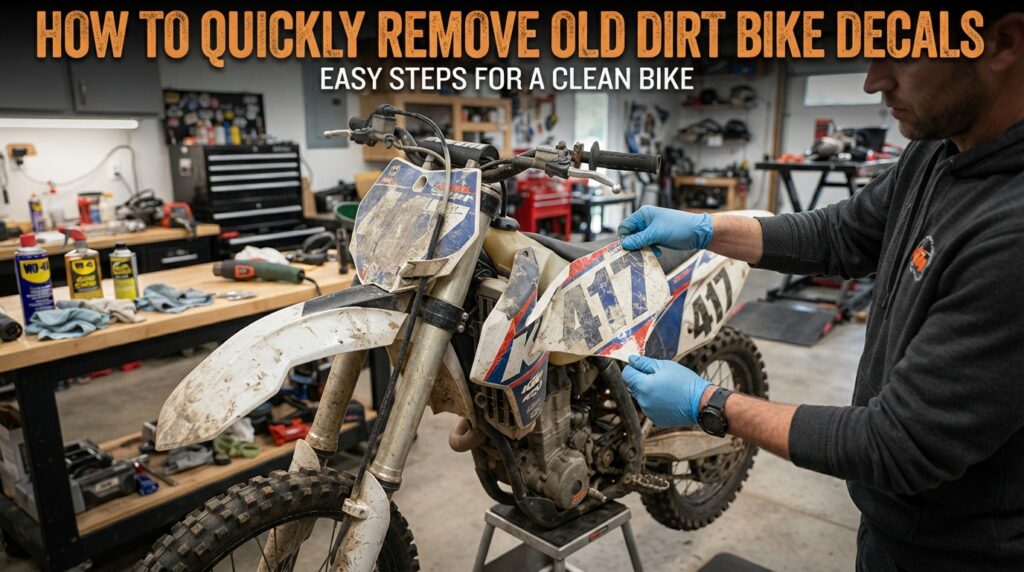
Removing old decals is often the first step toward giving a dirt bike a completely refreshed appearance. Whether you’re preparing a KTM, Yamaha, Honda CRF, Kawasaki KX, or Suzuki RMZ for a new design, knowing How to Quickly Remove Old Dirt Bike Decals can save time and help you prepare the plastics for fresh graphics.
If you’re planning a new look after removing your existing decals, explore dirt bike graphics from Boondocks Decals. Understanding How to Quickly Remove Old Dirt Bike Decals is especially useful before installing new graphics or vinyl decal kits.
Old decals can become faded, scratched, torn, or difficult to remove after extended use. Riders who participate in motocross racing may also replace graphics when changing their bike’s style or preparing for a new season.
Learning How to Quickly Remove Old Dirt Bike Decals gives you a practical starting point before applying a fresh design. Removing old material carefully can make the bike easier to inspect and prepare for its next graphics setup.
Old stickers can also make a motorcycle look dated even when the underlying bike is still in great condition. A clean plastic surface creates a better visual foundation for a new graphic design.
The first step in How to Quickly Remove Old Dirt Bike Decals is cleaning the motorcycle.
Remove loose dirt, mud, dust, and other debris from around the graphics. Dirt trapped near an edge can make removal more difficult and may scratch the surrounding surface if rubbed aggressively.
Use a suitable cleaning method and allow the area to dry before starting. A clean surface also makes it easier to see where the decal begins and where you can safely lift an edge.
The next part of How to Quickly Remove Old Dirt Bike Decals is finding an edge or corner that can be lifted.
Look around the corners of the decal and gently work at an edge rather than immediately pulling from the middle. Once you have enough material to grip, pull slowly and consistently.
Avoid aggressively tearing the graphic because large pieces can break apart, leaving small sections behind.
Heat can make How to Quickly Remove Old Dirt Bike Decals easier when older vinyl has become firmly attached.
A household hair dryer can provide gentle warmth that may help soften the adhesive. Keep the heat moving instead of concentrating it on one spot for too long.
The objective is to warm the decal enough to make it more flexible and easier to lift. Work gradually and test the edge as you go.
One of the most important tips for How to Quickly Remove Old Dirt Bike Decals is controlling the direction and speed of the pull.
Instead of quickly ripping the decal away, pull steadily and keep the material close to the surface. Slow removal can help reduce the chance of leaving unnecessary pieces behind.
If the decal begins tearing, stop and find another section to lift. Patience can make the entire removal process smoother.
After learning How to Quickly Remove Old Dirt Bike Decals, you may notice adhesive residue remaining on the plastic.
Do not immediately scrape aggressively at the residue. Instead, use an appropriate decal or adhesive-removal approach that is suitable for the motorcycle’s surface.
Work in a small area first and avoid using anything that could unnecessarily damage or scratch the plastics.
If you’re wondering How to Quickly Remove Old Dirt Bike Decals without making the process frustrating, preparation is important.
Work on one panel at a time. Breaking the job into smaller sections can make it easier to monitor your progress and prevent you from rushing.
Older graphics may require more patience than recently installed decals. Likewise, decals exposed to repeated riding, washing, sunlight, dirt, and changing conditions may behave differently during removal.
Keeping the bike stable while you work can also help. A secure motorcycle makes it easier to use both hands when necessary and maintain controlled pressure.
Once you’ve learned How to Quickly Remove Old Dirt Bike Decals, the next step is preparing for your new graphics.
Inspect the plastics after the old material has been removed. Make sure remaining adhesive and visible dirt have been addressed before moving forward with a new design.
This is an ideal opportunity to rethink the bike’s overall appearance. A new set of dirt bike graphics can change the visual identity of a motorcycle without changing its underlying components.
For riders of KTM, Yamaha, Honda CRF, Kawasaki KX, and Suzuki RMZ models, choosing a design that complements the bike’s shape can create a more cohesive appearance.
If you’re ready to explore a new style, start your graphics with Boondocks Decals.
Understanding How to Quickly Remove Old Dirt Bike Decals is particularly helpful when your existing graphics are no longer suitable for your bike.
You might consider a new kit when the old graphics are heavily scratched, faded, torn, or simply no longer match your preferred style. Riders may also want new vinyl decal kits when preparing for a new motocross racing season or creating a different visual theme.
A fresh design can give an older motorcycle a noticeably updated appearance while allowing the rider to express their individual style.
When following How to Quickly Remove Old Dirt Bike Decals, rushing is one of the most common mistakes.
Pulling too aggressively can cause the decal to tear into multiple pieces, increasing the amount of cleanup required. Excessive heat can also be problematic, so controlled and gradual warming is preferable.
Another mistake is ignoring the surface underneath. Once the graphics are removed, take a moment to inspect the plastic before applying anything new.
A careful removal process is usually more efficient than rushing through the job and creating additional cleanup.
Learning How to Quickly Remove Old Dirt Bike Decals can make a graphics upgrade feel much more manageable. With a clean surface, careful edge lifting, controlled heat when appropriate, steady pulling, and proper adhesive cleanup, you can prepare your motorcycle for its next look.
Whether you’re updating a KTM for the next race, refreshing a Yamaha, changing the style of a Honda CRF, or giving a Kawasaki KX or Suzuki RMZ a new appearance, removing the old graphics is an important first step.
New dirt bike graphics and vinyl decal kits can transform the visual appearance of your motorcycle and help create a style that stands out at the track.
Ready to move from old decals to a fresh design? Visit Boondocks Decals to explore your options, start your graphics, or contact Boondocks Decals to get started with your next graphics project.