
High Quality & Great Pricing l # Plates from $29 l Dirt Bike Kits $175 l Stickers 12 @ $9
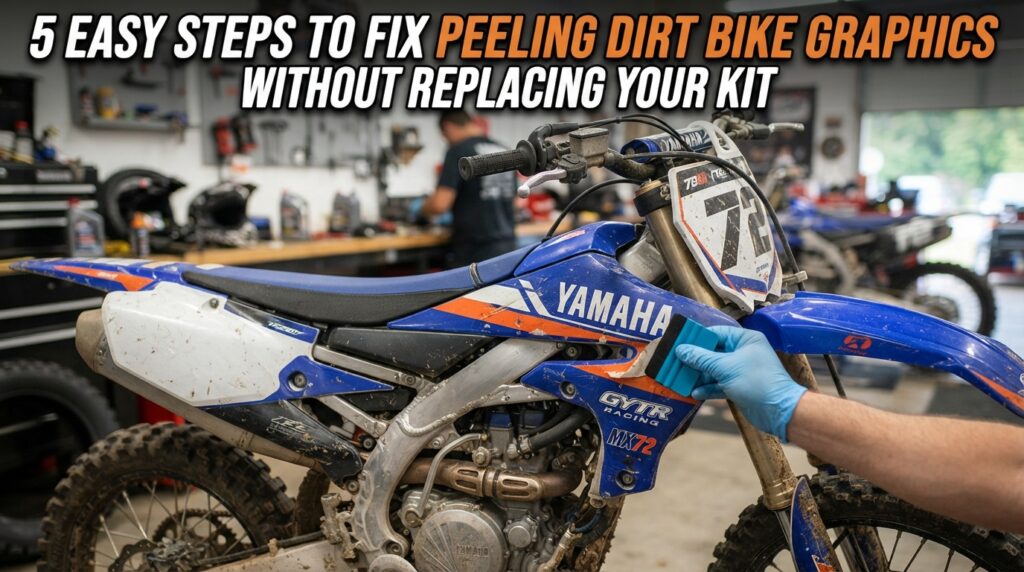
Dirt bike graphics do more than make a motorcycle look race-ready—they give riders a way to personalize their bikes and create a distinctive motocross style. However, even well-maintained graphics can begin to peel at the edges, especially around corners, fenders, side panels, and frequently touched areas. The good news is that 5 Easy Steps to Fix Peeling Dirt Bike Graphics can help you deal with minor lifting before it becomes a bigger problem.
If you’re looking for professionally designed dirt bike graphics for your motorcycle, Boondocks Decals offers graphic options designed around popular dirt bike models and styles. Before replacing an entire kit, learn how 5 Easy Steps to Fix Peeling Dirt Bike Graphics can help restore the appearance of your existing decals.
Before following 5 Easy Steps to Fix Peeling Dirt Bike Graphics, it helps to understand why peeling happens. Dirt, mud, moisture, repeated washing, friction, and frequent contact can cause the edges of a decal to lift over time.
Graphics may also begin peeling when an edge catches on a boot, riding gear, brush, or another object. Areas with sharp curves and edges can be particularly vulnerable because the vinyl has to conform to the shape of the motorcycle.
Whether you ride a KTM, Yamaha, Honda CRF, Kawasaki KX, or Suzuki RMZ, paying attention to small areas of lifting can help keep your bike looking cleaner.
The first step in 5 Easy Steps to Fix Peeling Dirt Bike Graphics is cleaning. Dirt and debris around a lifted decal can prevent the adhesive surface from sitting correctly.
Use a clean, soft cloth to remove loose dirt around the affected area. Avoid forcing mud or debris underneath the decal. The goal is to create a clean surface before attempting to press the graphic back into position.
Allow the area to become completely dry before moving to the next step.
The second step in 5 Easy Steps to Fix Peeling Dirt Bike Graphics is checking how much of the decal has lifted.
Look closely at the affected edge. If only a small section has lifted and the graphic is otherwise intact, carefully repositioning it may be possible. If the vinyl is heavily damaged, stretched, torn, or contaminated underneath, pressing it back down may not provide a lasting solution.
This inspection helps you decide whether a simple repair is appropriate or whether a replacement graphic would be the better option.
Next, gently guide the lifted section back toward its original position. Do not aggressively stretch the vinyl because excessive pulling can change its shape or alignment.
Work slowly from the attached section toward the lifted edge. This approach helps reduce the chance of trapping debris or creating unnecessary wrinkles.
For riders who regularly participate in motocross racing, this small repair can be useful when you notice a lifting edge before your next ride.
The fourth step in 5 Easy Steps to Fix Peeling Dirt Bike Graphics is pressing the decal firmly back onto the surface.
Use a clean, soft cloth or suitable application tool and apply steady pressure along the lifted edge. Focus on gradually securing the graphic instead of pressing everything down at once.
Pay particular attention to corners, seams, and curved sections. These areas can require extra care because the graphic follows the contours of the motorcycle.
The final step in 5 Easy Steps to Fix Peeling Dirt Bike Graphics is giving the repaired area time to settle and checking it again before your next ride.
Look at the edge from different angles. Make sure there are no obvious bubbles, loose corners, or sections that immediately begin lifting again.
If the same area continues to peel, the problem may be more extensive than a simple loose edge. At that point, replacing the affected graphic can be a more practical solution.
Knowing 5 Easy Steps to Fix Peeling Dirt Bike Graphics is useful, but prevention can be even better. Regularly inspect your graphics, particularly after riding through mud, dirt, or demanding terrain.
Avoid aggressively scrubbing graphic edges during cleaning. Pay attention to areas that experience frequent contact with riding boots or equipment.
It is also helpful to address small lifting sections early. A minor lifted edge can become much larger if it repeatedly catches on clothing, brushes, or other objects while riding.
While 5 Easy Steps to Fix Peeling Dirt Bike Graphics can help with minor peeling, not every damaged decal should be repaired.
Consider replacement when the graphic is badly torn, severely stretched, heavily damaged, or no longer sits properly on the motorcycle. A fresh set of vinyl decal kits can also completely change the appearance of a bike without changing the motorcycle itself.
This is especially useful for riders who want a refreshed look for a KTM, Yamaha, Honda CRF, Kawasaki KX, or Suzuki RMZ.
Quality dirt bike graphics can make a major difference in the overall appearance of a motorcycle. Graphics are often one of the first things people notice at the track, during motocross racing, or when a bike is photographed.
A thoughtfully designed kit can help create a coordinated appearance across the side panels, front areas, rear sections, and number plate areas. Riders can choose designs that match their personal style while giving their motorcycle a more distinctive appearance.
If you’re ready to explore a new design rather than repair an old one, start your graphics with Boondocks Decals.
Learning 5 Easy Steps to Fix Peeling Dirt Bike Graphics gives riders a simple way to address minor decal problems before they become more noticeable. Cleaning the area, inspecting the damage, carefully repositioning the vinyl, pressing the edge down, and monitoring the repair can help you make a more informed decision about your graphics.
However, when a decal is significantly damaged or repeatedly continues to peel, replacement may be the smarter choice. Whether you ride a KTM, Yamaha, Honda CRF, Kawasaki KX, or Suzuki RMZ, the right dirt bike graphics can give your motorcycle a fresh and personalized appearance.
Ready for a new look? Explore Boondocks Decals and discover graphics designed for your riding style. If you need help getting started, contact Boondocks Decals today and take the next step toward your next graphic kit.